Managing windows update using PowerShell command is very helpful once the GUI is not available such as Windows Server Core or using PowerShell Remote. There are many ways managing Windows Update using PowerShell, through this article, I will show how to manage Windows Update using PowerShell Module created by MichalGajda. This module called PSWindowsUpdate, allows you to manage windows update on any computer running PowerShell 2.0 or higher.

Install And Configure PSWindowsUpdate Module
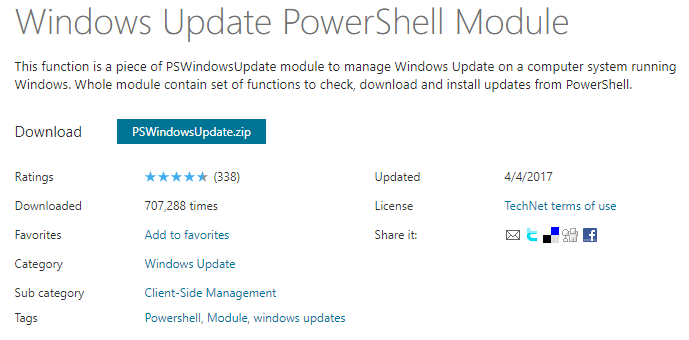
First, Download the module from PSWindowsUpdate.zip. In my computer, I’ve downloaded and put the file under C:\Install folder. Then you need to extract the files in two places:
- %USERPROFILE%\Documents\WindowsPowerShell\Modules
- %WINDIR%\System32\WindowsPowerShell\v1.0\Modules
I used the Expand-Archive command as below:
Expand-Archive -Path C:\Install\PSWindowsUpdate.zip -DestinationPath %WINDIR%\System32\WindowsPowerShell\v1.0\ModulesWhen the files have been extracted into the PowerShell Modules folder, open an elevated PowerShell prompt. Change PowerShell’s Execution Policy to RemoteSigned using the following command:
Set-ExecutionPolicy RemoteSignedHow to use PSWindowsUpdate Module
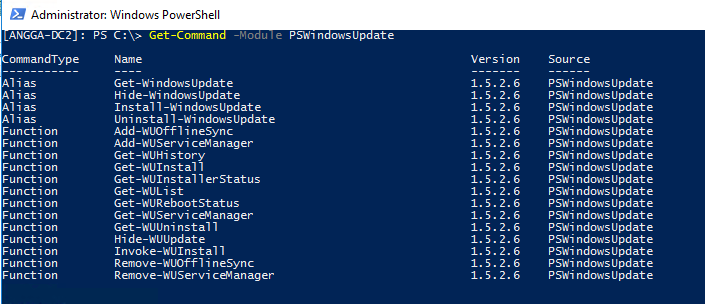
You can get all command available by run the following command:
Get-Command -Module PSWindowsUpdate
To get all the windows update that available, run the following command:
Get-WindowsUpdate
To install the windows update. use the following command:
Install-WindowsUpdate -AcceptAll
You can also install the specific Windows Update using parameter “-KBArticleID”
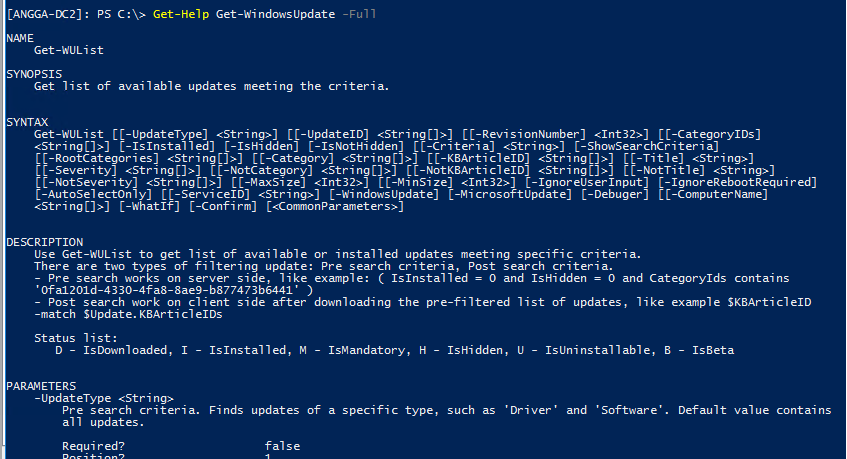
There are many commands or parameter you can use with Get-WindowsUpdate command. You can get more info about this
Get-Help Get-WindowsUpdate -Full
We hope this article can help you to Manage Windows Update using PowerShell command. If you liked this article, then please share with the others. You can also find us on Twitter and Facebook.

